
How to Make a Basic Fruit Pie from Scratch
To be honest, I dont particularlylike pie. If I am going to spend time and energy and calories on a dessert, its got to involve chocolate.
However, in the immortal words of Meatloaf, I would do anything for love. I love my husband, and my husband loves pie.
Lately, he has been not-so-subtly beating around the bush for a blackberry pie.So, on Monday I told him that if he picked the berries, I would make him a pie. That man was motivated; hebroughteight cups back to the house in no time flat. Ugh. My turn.
As a kid, I have very strong memories of watching my mom in the kitchen. She moves with effortless grace. Most foods were made from scratch, and all things were made well. Her pie crusts were no exception.
She never used a recipe, and she always made it look so stinking easy. I can still picture her rolling and flipping pie crusts into the dishwith a quick flick of the wrist and without breaking a sweat.
Sounds inspiring, right?
Its actually incredibly frustrating. Making pie crusts from scratch is just one of those things thatgets easierwith time and practice and patience. Your first attempts will most likely stick and tear and have you on the verge of pitching the whole mess into the garbage can. But it does get easier. The results do get better. And your time and effort will be totally worth it.
When I was working full-time outside of our home, I did what any sane, pastry-phobicperson would do. I purchased pie crusts from the grocery store. They werent as good as the real deal, but they sure were easier. Now that I am trying to make the majority of our baked goods from scratch using real ingredients, I ditched the dough boy.
With a little practice and confidence, making pie crusts from scratch really is possible.To prove it, I am going to walk you through the steps. Ready? Here we go
Okay, first things first. Confidence. I am convinced that, like bees, bears, and children, pie dough can smell fear. You have to walk into your kitchen like you own the place and show that crust whos boss. Work with confident hands. New to baking with pastry? Just fake it. Wimpy, timid hands need not apply. Seriously. Im convinced this was my moms secret weapon.
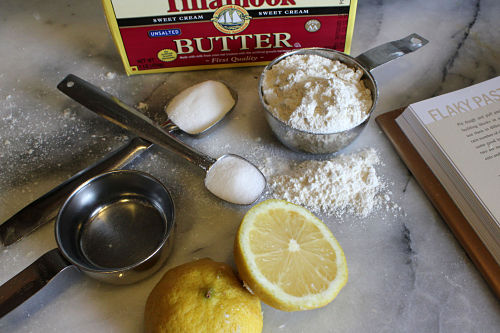
Now, we can talk about ingredients. There are a bunch of different ways to make a pie crust. The one I am featuring is based on The Grand Central Baking Book (Amazon). Feel free to tweak the ingredients or techniques to suit your own time and tastes.
- Butter is better. I stopped using shortening last year, and I dont miss it a bit. Starting with nice cold butter is key for perfect pastry.
- Sugar is optional, but it gives thepastry a bit of sweetness and a golden crust.
- Unbleached, all-purpose flour
- Salt gives flavor to the crust and is a nice balance to the sweet filling. If you are using salted butter, cut the salt in half.
- Water hydrates the dry ingredients, pulling them together. Use ice water to keep the mixture as cold as possible.
- Lemon juice is also optional. I read that it improves the crusts color andhelps relax the gluten, keeping your dough from pulling back as you roll it out. It does give the dough a slight citrus flavor so its your call if you want to use it.
- Fillings can be anything from sweet to savory. We currentlyhave lots of great options, like berries, apples, and peaches,available right here in the Northwest.
The most important tip for success when making pie dough is to keep the ingredients cold. Make a little bit of room in your refrigerator or freezer before you get started. Warm, greasy butter is the enemy of tender crust; if it melts into the flour, youll get a tough, crispy crust thats more like a cracker.
The ingredients should be cold during every state of mixing. If youre a novice, chill everything to begin with, and dont hesitate to put your dough in the refrigerator at any point if it begins to warm up.
The Grand Central Baking Book (Amazon) by Piper Davis & Ellen Jackson
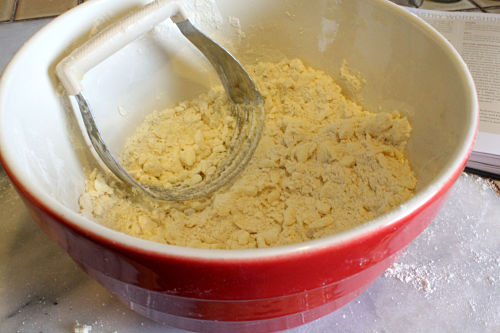
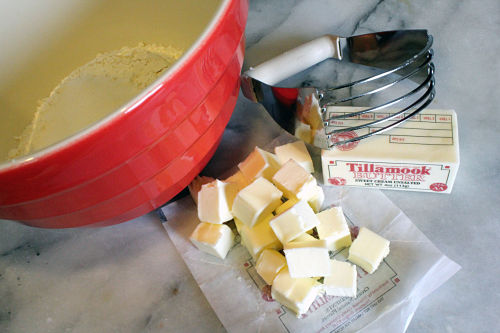
After dicing the cold butter into 1/2 cubes, you will cut it into your dry ingredients.You can use a mixer or food processor, but Iprefer using myfingers or a pastry blender.
Dont just dump the liquid into the dry ingredients; you most likely will not need the entire amount called for in a recipe. Adding too much liquid will give you a tough dough. Drizzle the ice water over the dry ingredients, mixing gently with a fork. Gather a small fistful of dough; if it holds together you have enough liquid. If it is still crumbly, add more ice water a tablespoon at a time.
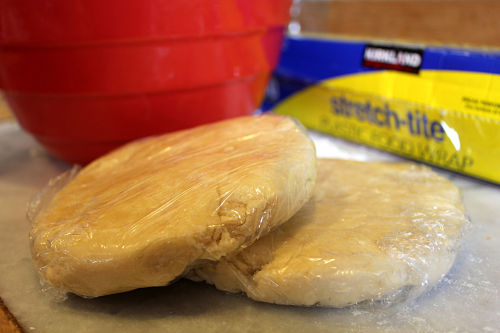
Ready for a break? Good. So is the dough.
Split it evenly and shape it into two rough disks. Cover the dough in plastic wrap and place it in the refrigerator for 1-2 hours (or up to several days). This really is the key for rolling out a nice, smooth crust that doesnt stick or tear.
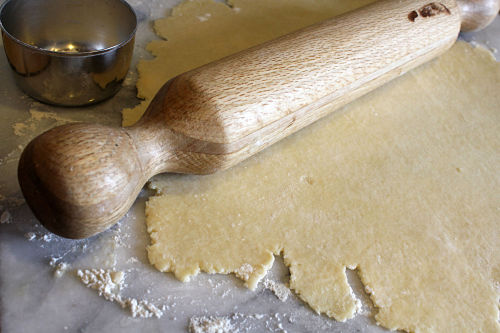
Working with one chilled disk at a time, roll the dough out on a lightly floured surface, starting in the middle and turningthe doughas you roll. Dont get discouraged with this step. It really does get easier with practice. If your dough starts to stick, returnit to the refrigerator or add a bit more flour to the rolling pin or surface.
If youre nervous about the whole rolling pin thing, no problem.Try this method to build up your confidence: Roll out your crusts, one at a time, in between two sheets of wax paper or plastic wrap. This will keepthe doughfrom sticking to the surface and make it easier to transfer from the counter top to the pie dish.
Whatever method you use, just take your time and be patient with the process.
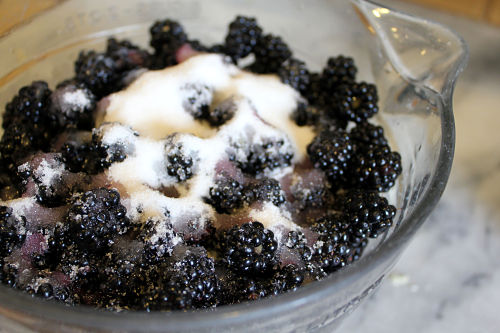
Toss your fillingwith sugar and cornstarch. The sweeter your fruit, the less sugar you will need to use. For 7-8 cups of blackberries, I only used 1/2 cup of sugar. Cornstarch is a thickening agent; you could also use flour or tapioca.

Roll out the bottom crust, making it slightly bigger than the diameter of the pie plate (this Pyrex 9 Bakeware Pie Plate is perfect for just about any pie!). Add your berries. Most standard berry pie recipes call for a measly 4 cups of fruit. I usually dump in 6-8 cups for a fuller pie and a messier oven.
Also, if you have trouble with runny pie fillings, try this: Sprinklea few tablespoons offinely crushed graham cracker crumbs on the bottom crust of your pie before adding the fruit on top. The crumbs will help soak up the juice, without changing the flavor or consistency of the pie.
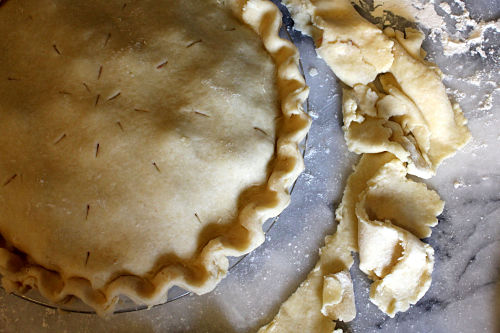
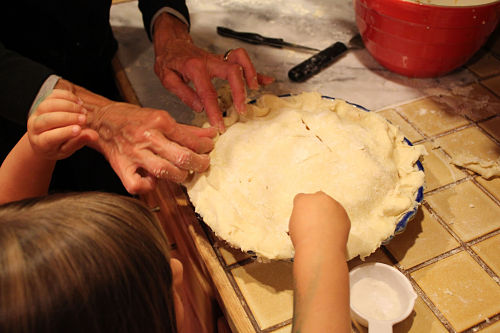
Repeat the process with the top crust. Once it is rolled out, slideyour hands, palms down, under the crust and carefullyset it over your piefilling. Using a knife,trim off the excess dough. Gently press the edges together to seal. Crimp the edges using your thumbs and forefingers.
Cut some vent holes in the top of your pie. You could also brush milk, water, or a beaten egg on the top crust and sprinkle with sugar.
It can look super fancy and perfect. Or not. In the grand scheme of things, a good tasting pie is better than a pretty one.
Thats it! You just (vicariously) made a pie.
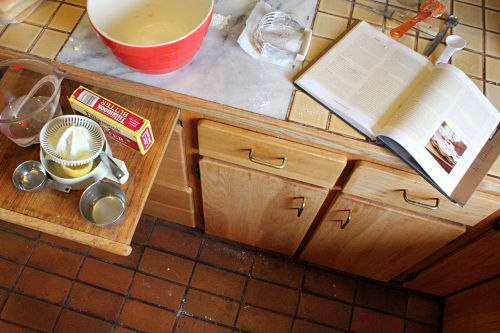
Your kitchen will look something like this.
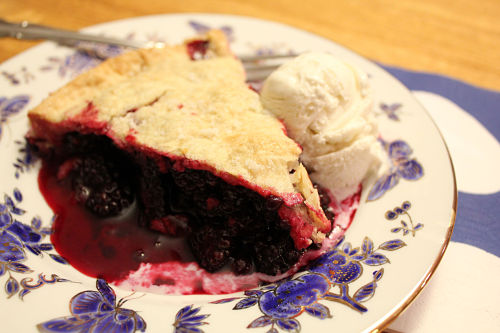
Your pie will look like this.
Yourfamilywill look happy (and hopefully offer to do the dishes).
See? I told you it would be worth it.
All-Butter Flaky Pie Dough
Slightly adapted from The Grand Central Baking Book (Amazon)
Yield: double crust
Ingredients
2 1/2 c. all-purpose flour
2 T. sugar
1-2 t. salt
1 c. butter
1/3 c. ice water
1 T. lemon juice, optional
Basic Fruit Filling
Ingredients
6 c. fruit
3/4-1 1/2 c. sugar (depending on fruits sweetness)
1/4 c. cornstarch
- Mix the flour, sugar, and salt together in a medium bowl.
- Dice the cold butter into 1/2 cubes and toss into the dry mixture. Moving quickly, use your fingers or a pastry blender to cut the butter into the flour until it is all incorporated and no large chunks remain.
- Fill a cup with water and ice cubes. Put the lemon juice (if using) into a liquid measuring cup, then add 1/3 cup of ice water. Be careful not to add any of the ice. Drizzle the water into the dry mixture, reserving some of the liquid. Use a fork or rubber spatula to gently mix the wet and dry ingredients together. Check the hydration of the dough by gathering a small fistful; if it holds together, its ready. If its still crumbly, add more water a tablespoon at a time.
- When the dough comes together, form it into two separate flat disks. Wrap and place in the refrigerator for 1-2 hours or days.
- Working with one disk at a time, place it on a lightly floured smooth surface. Using a lightly floured rolling pin, begin in the middle of the dough and roll outward rotating the dough and adding more flour as needed. Continue rolling until the dough is slightly larger than the diameter of the pie plate.
- Fold the bottom crust in half and transfer it to the pie plate. Using your fingertips, press it gently against the sides of the dish.
- Mix together the fruit, sugar, and cornstarch. Pour into the prepared crust and refrigerate.
- Repeat the process for the top crust. Place on top of your filling and trim the edges with a knife. Crimp the border using your thumb and forefingers. Use a sharp knife to cut steam vents in the top of the pie. Place the pie on a baking sheet. (Pies can be frozen at this point to be baked, without defrosting,at a later time.)
- Bake at400 for 20 minutes. Reduce oven temperature to 350. Bake for 30 more minutes, or until the crust is golden brown and the filling is bubbling.
*********************************************************************************
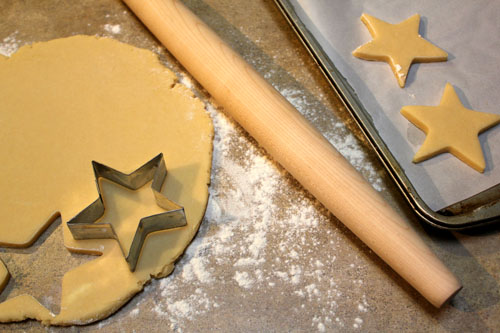
Something about this French Rolling Pinmakes rolling out dough a pleasure instead of a pain. Its smooth, lightweight, and easy to use: the perfect rolling pin. It is definitelyone of those kitchen tools that I nowlook forwardpulling out of the drawer and putting to use. The simple design is both beautiful and useful.
RELATED: Best gift ideas for the baker (this rolling pin is on the list!)

The Grand Central Baking Book: Breakfast Pastries, Cookies, Pies, and Satisfying Savories from the Pacific Northwests Celebrated Bakery comes from the extremely popular Grand Central Bakery in Portland and Seattle. The cookbook gets great reviews and will allow you to make some of their delicious pastries and baked goods at home!
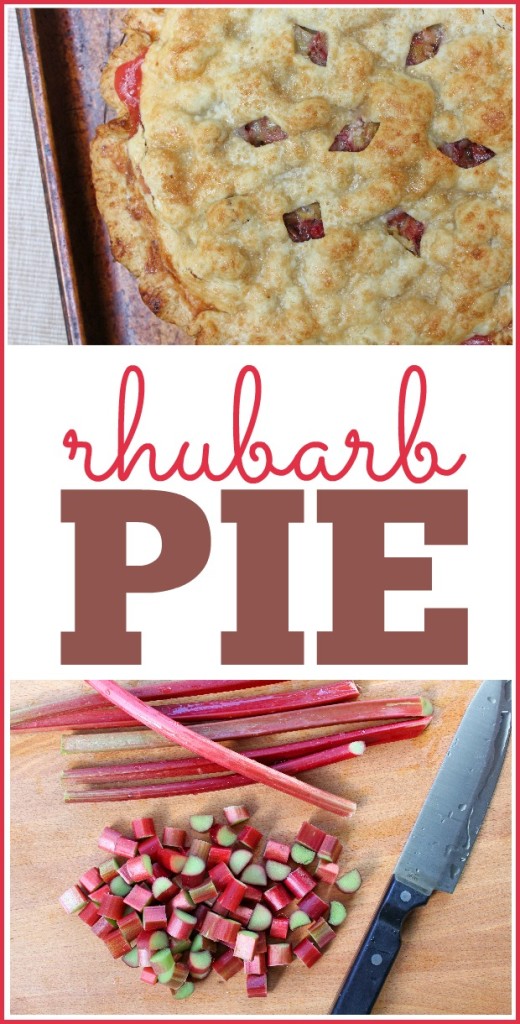
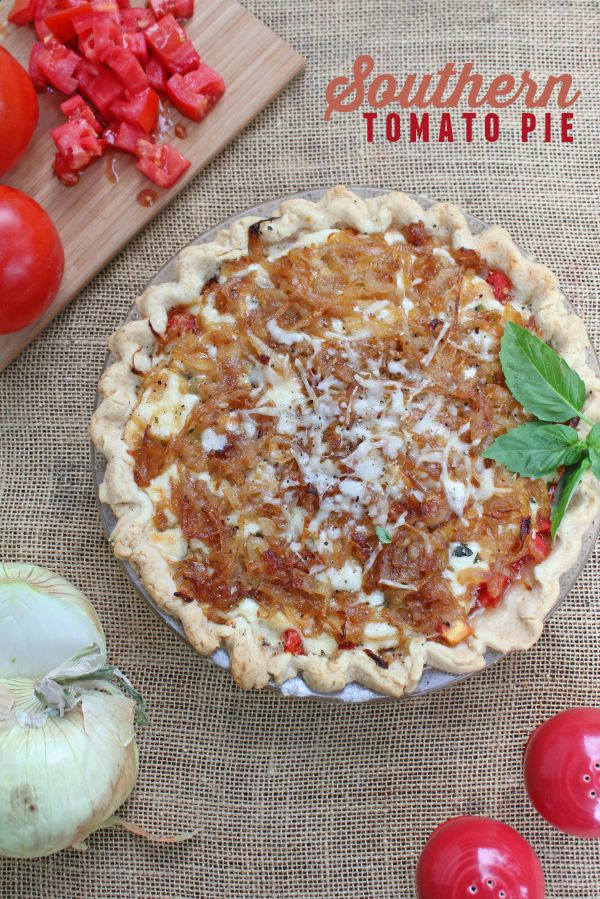
Looking for more delicious pie recipes?

Follow Frugal Living NW on Pinterest!
Fantastic range of boards from best recipes and tips for frugal living to gardening and budgeting help.
The post How to Make a Basic Fruit Pie from Scratch appeared first on Frugal Living NW.