
Simplified Video + Photo Editing
For years, I used to love all things tech. My work life and personal life have long been deeply intertwined, and, as a result, my large desktop, accessories, and my collection of reference books were items I used constantly and couldn’t imagine functioning without.
But technology changes, as do priorities. And, after having West, I realized that the majority of the tools I relied upon for business for were no longer tethered to my dedicated work area or desktop computer. They were increasingly accessible via the phone in my pocket, and through my tablet. It dawned on me that I could truly conduct most of the administrative and creative aspects of my job from anywhere.
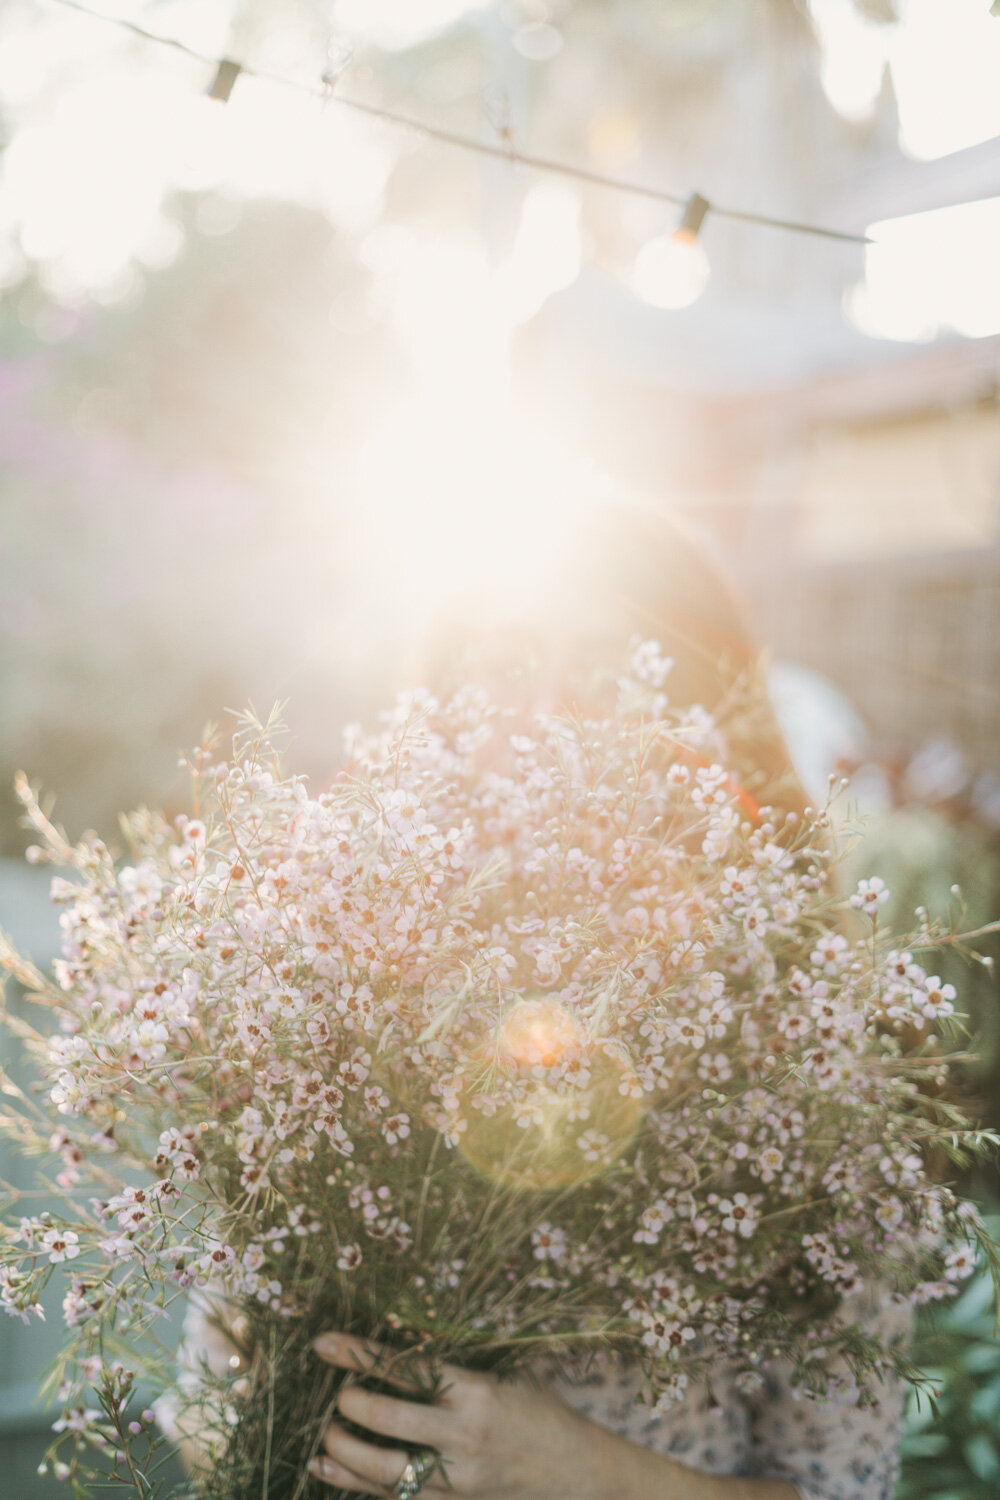
Above: Photo by our professional videographer, Tinylicious.co.
As a result, I streamlined and pared down my equipment and office in general, passing on select items to folks who could use them, and swapping out my lift-desk (full details on that here) in exchange for mobile work zones.
My office supplies are now totally corralled in a single drawer nestled within one of the three built-in cubbies in our multi-purpose room. My reference resources are no longer on our bedroom bookshelves, and instead are either accessible online or via our local library.
When I need to physically be in my content, or when the project requires a polished and professional look, we work with our exceptionally talented friend Lucia Doynel of Tinylicious.co. Otherwise, I happily do most of my content creation myself.
With this shift in how I create came several reader questions about the software / apps and devices I use to edit my media, and what tasks I accomplish via each.
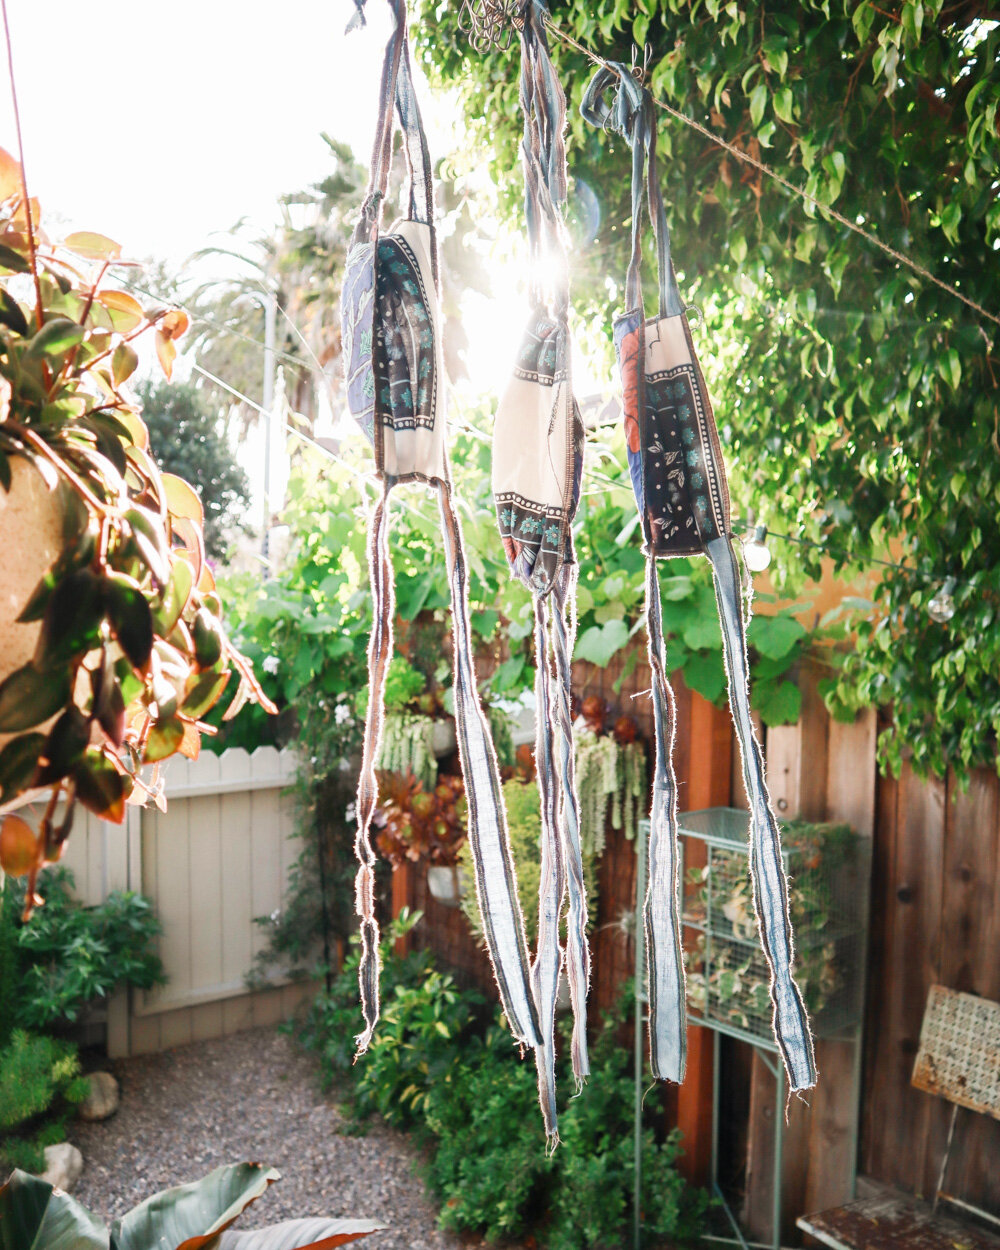
Above: Our masks drying on the line over our stoop— a normal sight these days, but one I never expected to get used to. Shot on my compact Canon and edited via Lightroom + ColorStory.
So here is my very 101, unfussy and unabashedly amateur method of editing my videos, Stories, and photographs.
CAMERA
Canon EOS M50 mirrorless
I use my camera for most brand and blog imagery.
iPhone 11 Pro Max
I rely on my phone for nearly all of my IG photos (as they’re taken in-the-moment), and for ALL of my videos. (I also use my phone for most of my editing… more on that below). When using your phone, ALWAYS wipe off the lens first. It makes a huge difference in the quality of the photo or video.
VIDEO
Adobe Premiere Rush
I use Rush (on my iPhone and iPad) to cut and arrange and compile video clips. Beyond organizing and tightening content, I also use Rush to alter the speed of select footage. I also use this app for basic exposure adjustment.
Filmm App
I use Filmm via my phone to add styles / effects to videos exported from Rush. It also has stock songs that can be applied to footage, or you can import an audio file of your own to add to your video.
PHOTOS
Lightroom (mobile)
Before anything goes up on my blog or Instagram, I adjust it in Lightroom. I don’t use any presets, as I prefer to edit every photo to tell its own story.ColorStory
I use ColorStory for all the fun stuff in photos, like more playful effects and filters. I also run some of my Stories videos through this app.Snapseed
To quickly target areas of a photo for more precise editing, I’ll sometimes adjust a photo in Snapseed after using Lightroom.
STORIES + TEXT OVERLAYS
Unfold
I use Unfold or Template to format ALL of my Stories. They’re simple apps for adding various frames, scrapbook-style visual accents, and text overlay to both videos and photos alike. Plus they’re handy for creating Stories in advance, as well as creating title-card style video frames to add into Rush and splice into larger video projects.